





When embarking on any home improvement project, from laying new flooring to painting walls, the first crucial step is to accurately calculate the square feet of the area you’re working on. Most DIY enthusiasts spend far more on materials than necessary, often due to imprecise measurements leading to over-ordering or, worse, under-ordering and needing a second, often more expensive, trip. Knowing how to precisely measure your space not only saves money but also ensures a smoother, more efficient project from start to finish.
Last updated: July 30, 2026
Key Takeaways
- Always measure in consistent units, typically feet and inches, converting inches to decimal feet before calculation.
- Break down complex room shapes into simpler rectangles, squares, or triangles to sum their individual areas.
- Factor in a material overage of 10-15% for cuts, waste, and future repairs, but adjust based on material type.
- Remember to calculate square footage for vertical surfaces (walls, ceilings) differently than floors, accounting for openings.
- Laser measuring tools offer significant accuracy and speed advantages over traditional tape measures, especially for large or irregular spaces.
Why Accurate Square Footage Is Essential for Budgeting
Accurate square footage is the bedrock of any successful home project budget. Without it, you’re essentially guessing how much material to buy, which invariably leads to either expensive waste or frustrating delays. Whether you’re planning a new floor installation, painting a room, or even just arranging furniture, knowing the precise area allows you to calculate material needs, compare costs per square foot, and even estimate labor charges.
For instance, according to a 2025 survey by the National Association of Home Builders, material overages due to inaccurate measurements can inflate project costs by 5% to 15%. This percentage can translate into hundreds or even thousands of dollars on larger projects. Precise measurement also helps you avoid multiple trips to the hardware store, saving time and fuel, and reducing your project’s overall environmental footprint by minimizing material waste.
It’s not just about materials; accurate square footage also informs your design decisions. Knowing the exact dimensions helps in planning furniture layouts, understanding how much light a room truly needs, or even assessing the property’s market value.
What You’ll Need: Tools for Precise Measurement
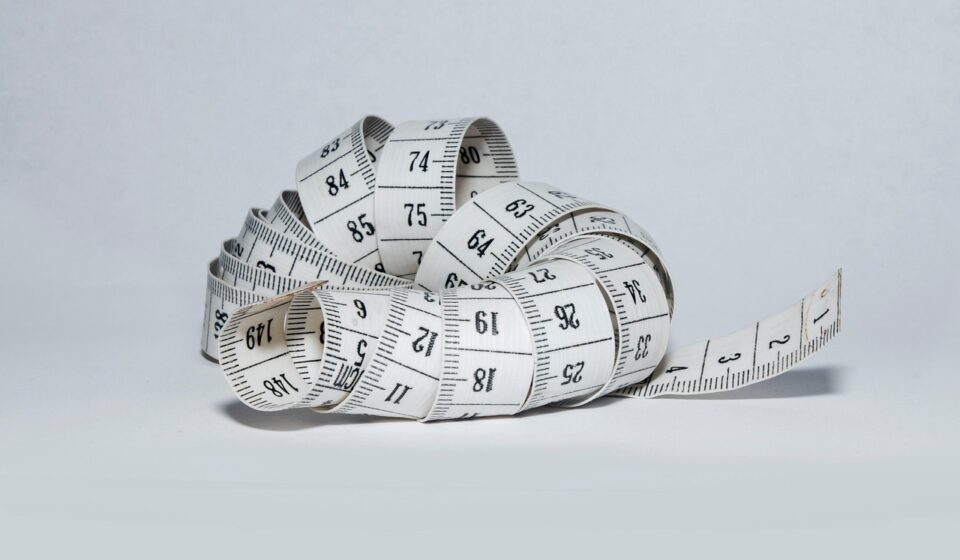
Before you begin to calculate the square feet, gather the right tools. The basic kit includes a reliable tape measure, a pencil, and paper or a notepad. For complex rooms, a calculator will also be invaluable. For enhanced accuracy and speed, especially for larger spaces or irregular shapes, a laser distance measurer is a worthwhile investment.
A long, sturdy tape measure (at least 25 feet) is critical for minimizing errors. Avoid flimsy tapes that bend easily. A straight edge or ruler can help draw accurate diagrams. Some professionals also use clipboards with grid paper to sketch room layouts to scale, which simplifies breaking down complex areas. Consider using a digital camera or your phone to snap photos of challenging angles or architectural features that need special consideration.
Step-by-Step: Calculating Square Feet for Standard Rooms
Calculating the square feet of a simple rectangular or square room is straightforward. The core principle involves multiplying the length by the width. Remember, consistency in units is key; always work in feet, converting any inches to decimal feet before you multiply.
- Clear the Area: Remove any obstacles that might impede a straight measurement. Push furniture against walls or temporarily move smaller items out of the room.
- Measure the Length: Stretch your tape measure along one of the longer walls, from one corner to the other. If the room isn’t perfectly square, take multiple length measurements and use the average or the longest dimension, depending on your project.
- Measure the Width: Repeat the process for one of the shorter walls, measuring from corner to corner. Again, take multiple measurements if the room is irregular.
- Convert Inches to Decimal Feet: If your measurements include inches (e.g., 12 feet 6 inches), divide the inches by 12 to get a decimal (6 inches / 12 = 0.5 feet). So, 12 feet 6 inches become 12.5 feet.
- Multiply Length by Width: Once you have your length and width in decimal feet, multiply these two figures together. For example, a room that’s 12.5 feet long and 10 feet wide has a square footage of 12.5 x 10 = 125 square feet.
Mastering Complex and Irregular Shapes
Many rooms aren’t perfect rectangles. L-shaped, T-shaped, or rooms with alcoves require a slightly different approach. The strategy here is to break the complex shape down into multiple simpler, measurable rectangles or squares, calculate the square footage of each segment, and then sum them up.
For an L-shaped room, imagine drawing a line that divides it into two distinct rectangles. Measure the length and width of each rectangle separately, calculate their individual square footage, and then add those figures together. The same principle applies to T-shaped rooms, which can be broken into three rectangles. For rooms with curved walls or triangular sections, you might need to approximate or use specific geometric formulas for circles (πr²) or triangles (0.5 × base × height). Always sketch your room layout on paper and clearly mark your imagined divisions and measurements.
This method ensures you capture every part of the area, preventing shortages. For particularly challenging spaces, consider using online square footage calculators that can handle complex inputs, though always double-check their results with your manual measurements. Square Footage Calculator: Beyond Simple Inputs, Real Accuracy
Calculating Square Footage for Walls and Ceilings
Calculating square footage for vertical surfaces like walls and ceilings differs from floor area but is equally important for projects like painting or wallpapering. Most homeowners mistakenly use only floor area, leading to significant misestimations. For walls, you need the perimeter of the room and the height of the walls. For ceilings, it’s typically the same as the floor area, assuming a flat ceiling.
To calculate wall square footage, first find the perimeter of the room by adding up the lengths of all walls. Then, measure the height of the walls from floor to ceiling. Multiply the perimeter by the height. For example, a room with a perimeter of 40 feet and a wall height of 8 feet has 320 square feet of wall area. Remember to subtract the square footage of any windows or doors, as you won’t be painting or wallpapering those areas. For a ceiling, if it’s a standard flat ceiling, simply use the floor’s square footage.
Understanding Material Overages and Waste Factor
Even with perfect measurements, you’ll almost always need to purchase more material than your exact square footage calculation suggests. This is known as the material overage or waste factor. For most projects like flooring, paint, or tile, a 10% to 15% overage is standard practice.
Why is this necessary? Cuts, mistakes, pattern matching (especially with wallpaper or patterned tiles), and damage during installation all contribute to waste. For example, if you’re installing hardwood flooring, intricate cuts around doorframes or irregular room shapes will generate scrap pieces. Having a buffer ensures you don’t run out of material mid-project, which can be disastrous if the specific dye lot or batch is no longer available. For very complex patterns or highly irregular rooms, some contractors even recommend a 20% overage. Always check the manufacturer’s recommendations for their specific product.
Real-World Examples: Flooring, Paint, and Landscaping
Let’s apply these principles to common home projects. For a 150 square foot living room needing new vinyl plank flooring, you would purchase 150 sq ft + (150 sq ft 0.10) = 165 square feet of material. At an average cost of $3.50 per square foot for vinyl plank, your material cost would be $577.50. This small overage prevents last-minute scrambles and ensures consistent color and pattern matching.
For painting a bedroom, say 10 feet by 12 feet with 8-foot ceilings. The perimeter is (10+12) 2 = 44 feet. Wall area is 44 feet * 8 feet = 352 sq ft. Assuming one standard door (21 sq ft) and one window (15 sq ft), you need to paint 352–21–15 = 316 sq ft of walls. A gallon of paint typically covers 350-400 sq ft for one coat. For two coats, you’d need roughly 632 sq ft of coverage, so two gallons would be sufficient with a small buffer. For landscaping, if you’re covering a 200 sq ft flower bed with mulch, adding a 5% overage for uneven depth or spill would mean purchasing 210 sq ft worth of mulch.
Manual vs. Digital Measurement Tools
Choosing the right tool to calculate the square feet can significantly impact accuracy and efficiency. Both traditional tape measures and modern digital tools have their place, each with distinct advantages and drawbacks.
| Feature | Manual Tape Measure | Digital Laser Measurer |
|---|---|---|
| Accuracy | Good, but prone to human error (sag, reading mistakes) | Excellent, typically within 1/16 inch over long distances |
| Speed | Slower, especially for large or complex areas, often requires a second person | Very fast, single-person operation, instant readings |
| Ease of Use | Simple, no batteries needed, familiar to most users | Requires learning basic functions, battery-dependent, can be affected by reflective surfaces |
| Cost | Very affordable ($10-$30 for a good one) | Higher initial investment ($30-$200+) |
| Best For | Small, simple rooms; rough estimates; detail measurements | Large rooms, complex layouts, high ceilings, quick area/volume calculations |
Pros
- Manual Tape Measure: Affordable, no batteries required, durable for rough use, excellent for short, precise detail work.
- Digital Laser Measurer: Fast, highly accurate over long distances, often includes area/volume calculations, ideal for one-person operation.
Cons
- Manual Tape Measure: Can be cumbersome for long measurements, prone to sagging, requires precise reading, often needs two people for best accuracy.
- Digital Laser Measurer: Higher cost, requires batteries, can struggle with outdoor use or highly reflective surfaces, learning curve for advanced features.
Common Mistakes to Avoid When Measuring
Even seasoned DIYers can make mistakes when measuring. One common error is failing to measure consistently; mixing feet and inches without proper conversion before calculation leads to incorrect totals. Forgetting to account for doorframes, window recesses, or built-in cabinets when measuring usable floor area is another pitfall. Always measure to the absolute edge of the usable space, not just where the main wall ends.
Another frequent mistake is rounding measurements prematurely. Keep your measurements as precise as possible until the final calculation. Forgetting to factor in material overage is also a common oversight, almost guaranteeing a shortage. Finally, not double-checking your measurements is a recipe for disaster. Measure everything twice, or even better, have a second person verify your readings. This simple step can save you hours and money.
Expert Tips for Enhanced Accuracy and Efficiency
Beyond the basics, a few expert tips can elevate your measuring game. When measuring for flooring, consider the direction of the material; some patterned tiles or wood planks require specific orientations that can influence waste. Always measure the longest possible run first to establish a baseline.
For rooms with many angles or obstacles, create a detailed sketch, assigning letters to each wall segment. This helps organize your measurements and reduces the chance of missing a section. Consider using a rolling measuring wheel for very large, open outdoor areas where precision isn’t as critical as speed, like for garden projects or pathways. In my 15 years working in home renovations, I’ve seen how a few extra minutes spent on meticulous measurement can prevent days of rework or budget headaches. For surface-material comparisons, see.
Frequently Asked Questions
How do I calculate square feet for an irregular-shaped room?
Break the irregular room into several smaller, regular shapes like rectangles, squares, or triangles. Calculate the square footage for each of these simpler sections individually, and then add all the resulting areas together to get the total square footage of the complex room.
What is the difference between gross and usable square footage?
Gross square footage typically refers to the total area under a roof, often including walls, storage, and non-livable spaces. Usable square footage, in contrast, refers to the actual floor space that can be occupied, furnished, or actively used, often excluding thick walls or areas with very low ceiling heights.
Do I need to include closets when calculating room square footage?
Yes, if you plan to install new flooring or paint the inside of the closet, you should include its dimensions in your overall room square footage calculation. Treat the closet as an extension of the room’s area for material estimation purposes.
How do I convert inches to decimal feet for calculations?
To convert inches to decimal feet, simply divide the number of inches by 12. For example, 9 inches becomes 0.75 feet (9 ÷ 12 = 0.75). Add this decimal value to your whole feet measurement (e.g., 10 feet 9 inches becomes 10.75 feet).
What is a good material overage percentage for DIY projects?
For most DIY projects like flooring, tiling, or wallpaper, a good material overage percentage ranges from 10% to 15%. This accounts for cuts, mistakes, and future repairs. For projects with complex patterns or very intricate cuts, consider increasing it to 20%.
Can I use an online square footage calculator?
Yes, online square footage calculators are convenient and often handle complex shapes. However, always double-check your initial measurements and, if possible, manually verify the calculator’s results, especially for critical projects, to ensure accuracy and prevent errors.
How do I calculate the square footage of sloped ceilings?
Calculating sloped ceiling square footage requires measuring the length of the room and the average width of the sloped section. For a simple gable roof, you might measure the length of the room and the diagonal length of the sloped ceiling section, then multiply. For complex slopes, consider breaking it into triangles or using online tools.
Conclusion: Measure Once, Cut Twice (Not the Other Way Around)
Learning to calculate the square feet effectively is a foundational skill that pays dividends in every home project. By taking careful, consistent measurements, breaking down complex shapes, and wisely factoring in material overages, you gain control over your budget and project timeline. This precision ensures your home improvements look professional and last for years, creating memories in a space built with accuracy. Embrace the tape measure, or the laser, and build with confidence.
Information current as of July 2026; pricing and product details may change. Knowing how to address calculate the square feet early makes the rest of your plan easier to keep on track.
Related read: Yards to Metric: Mastering Conversions for Cost-Savvy Projects.